Techniques Group 4
These techniques use simple stencils.
21. Sponges and Stencils*
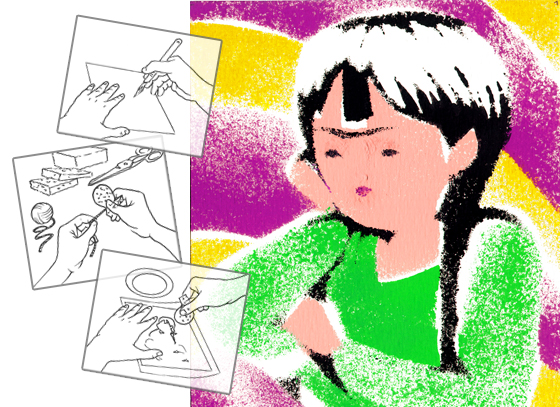
Different kinds of sponges produce different textures. You can also cut a sponge to make a sharp edge; or you can form it into a round surface without any edge, as shown below.
In this technique, cut stencils of different designs from cellophane, plastic paper, or radiograph film. Lay the stencils on a larger piece of art paper one by one. Dip a sponge into ink or paint and fill in the unpainted areas.
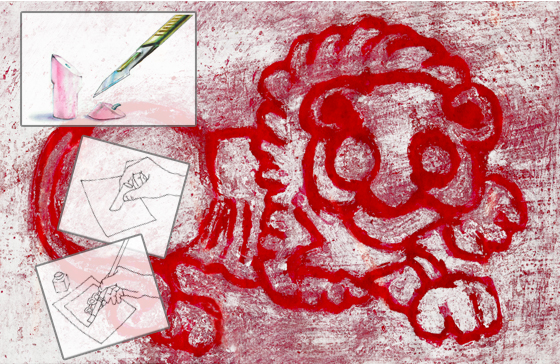
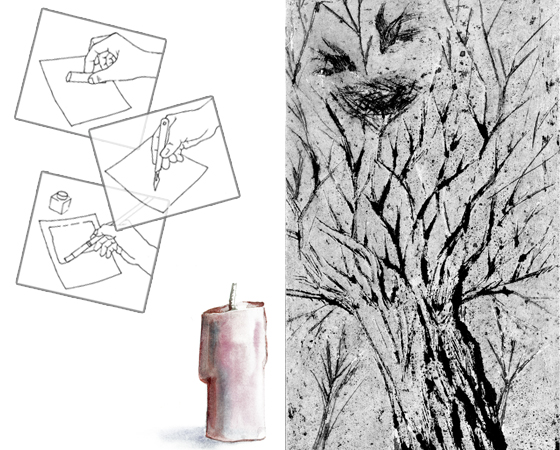
22. Candle Wax Stencil 1
Wax is not soluble in water. Using this technique, draw over your design with a candle. Next, paint the surface with ink or water-soluble color. To make fine lines, cut the head of the candle to make a sharp edge.
23. Candle Wax Stencil 2
Paint a design or image on a piece of paper. Rub candle wax over your design, and paint the rest of the paper with a darker color. The lighter-colored design that was covered with wax will be highlighted against the dark background.
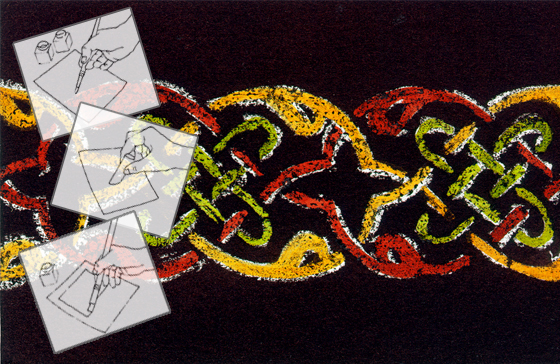
24. Scratched Candle Wax Stencil*
Rub candle wax over the entire surface of a piece of paper. Using a sharp tool, scratch a design into the wax and apply ink or paint to make your design. The scratched surfaces will absorb the color, but not the areas covered by the wax, and will create a texture as in the example below.
25. Warm Candle Stencil*
Remember your paper stamps? Try using them with this technique; but any kind of stamp can be used.
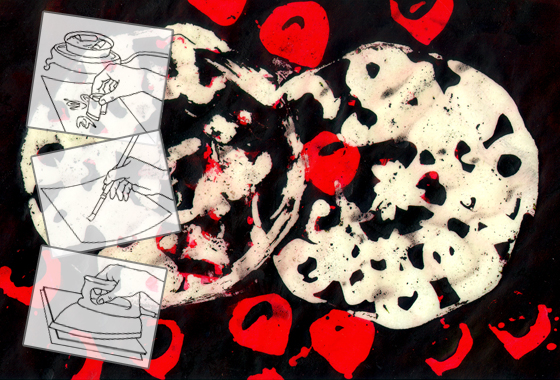
Put some candle wax in a bowl, place it on a warming plate, and heat the wax to the melting point. Dip a stamp into the wax, and press the wax onto a piece of paper in any design. Cover the exposed part of the paper with ink or paint as in previous techniques. Remove the wax by covering your design with another piece of paper or cloth and ironing over it using medium heat. The top paper or cloth will absorb the melted wax leaving the texture of your artwork on the paper below.
26. Liquid Glue
Liquid glues are made from different substances, natural and chemical, and result in different textures when used for making a stencil. Create a design on paper using any kind of glue. You can apply it directly from the tube or with another tool. When the glue has dried, cover your art paper with ink using brushes, sponges or your fingers. The surface where the glue was applied will feel smooth. You can play with the color on the glue surface to highlight your design.
27. Gum Arabic and India Ink
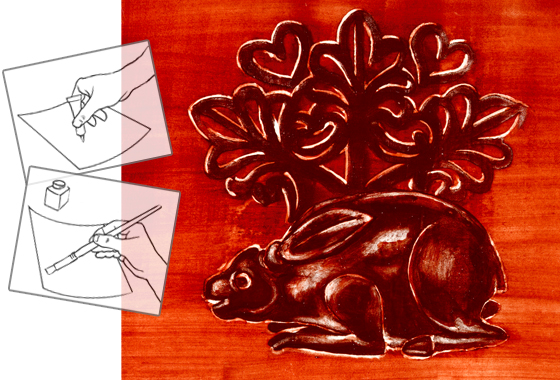
Gum arabic is used in the production of color pigments; it comes in a powdered form that dissolves in cold water, or in a ready-to-use liquid.
Gum arabic feels slimy when dissolved in water, so use a brush to apply it. As the gum arabic dries, it leaves a light transparent layer on the paper. Using India ink, draw on the gum-coated paper. You will see the surface of the painted areas crack from the ink. Try using other kinds of ink to see what effects they produce.
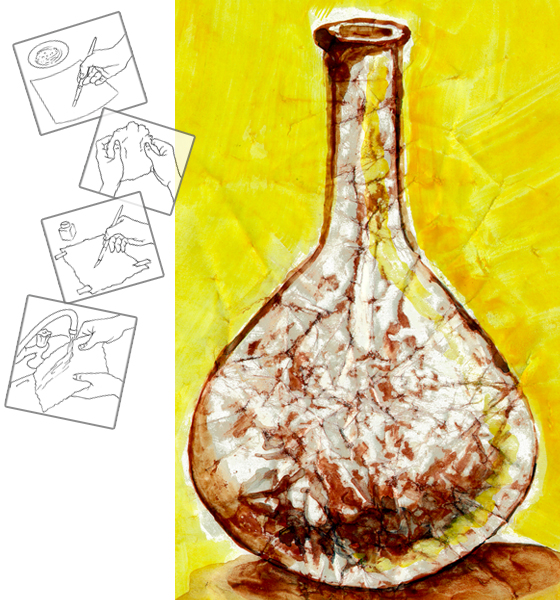
28. Wrinkled Paper and Gum Arabic
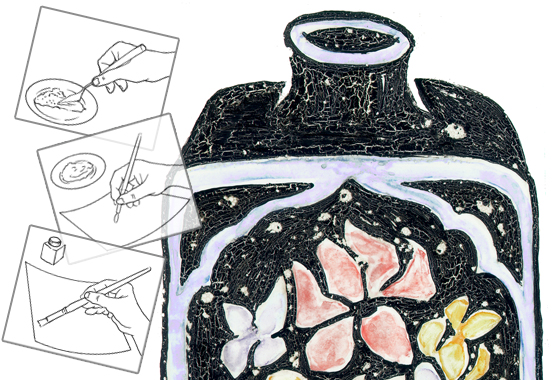
Choose a glossy paper and paint it with gum arabic to produce a light, breakable, and transparent layer. Wrinkle the paper to crack the gum arabic layer and expose some of the paper surface through the cracks. The paper will also develop cracks in its surface. Apply paint or ink to the paper to see the effect of this technique. To get a special mixed effect, run water carefully over your paper.
