Techniques Group 3
These techniques introduce other kinds of painting and writing tools.
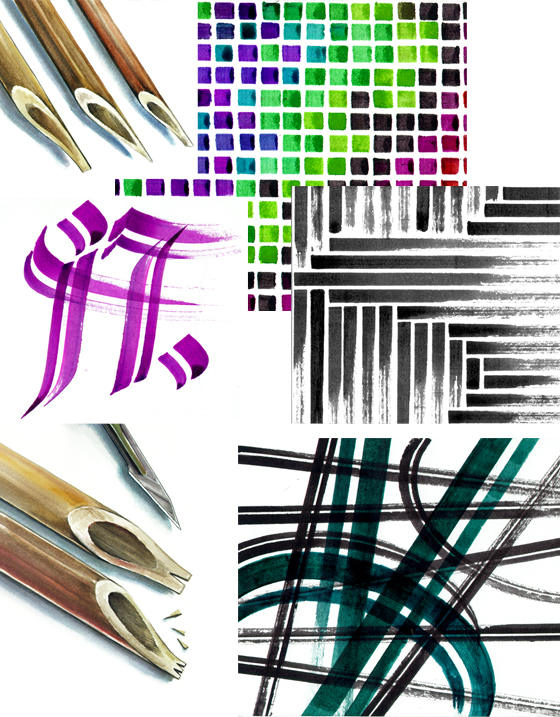
13. Persian-Style Wooden Calligraphy Pen
Have you ever used a pen like this for drawing? Try experimenting with this interesting technique to create dots and lines as illustrated below.
Note: If you cut the head of the pen as shown (not recommended for very young artists), you can create parallel lines as seen in the example.
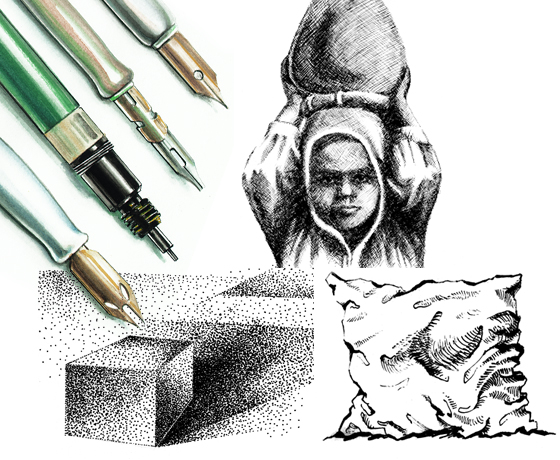
14. Hatch Pens
Hatch pens come in different shapes and widths; artists and writers use them for various purposes in drawing and calligraphy. Working professionally with these kinds of pens requires special training and practice. You may have the talent to be an expert in drawing with these pens. Try them. They are a lot of fun!
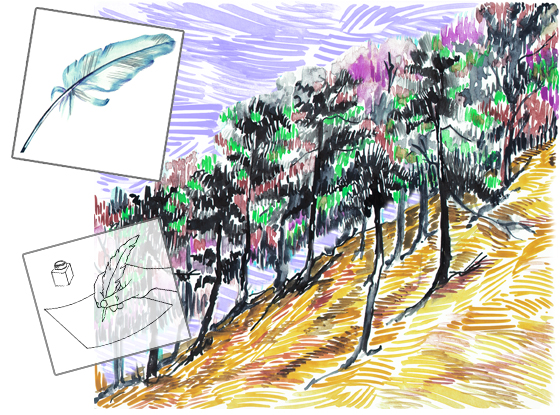
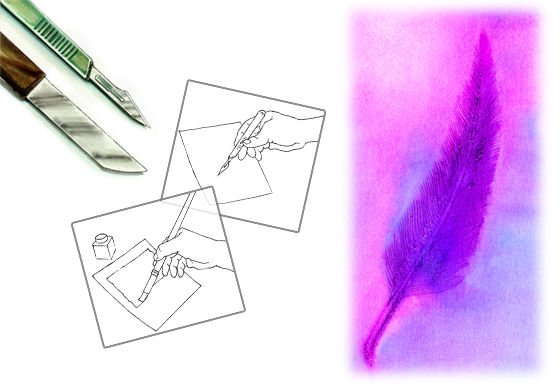
15. Drawing with Feathers (Quills)*
Before the invention of fountain pens or ball point pens (that have a container to hold the ink), people used feathers for writing; writing feathers are called 'quills'. The shaft of a feather is hollow and acts as a cartridge allowing the artist to use it like a pen for drawing, but only for a limited amount of time. Just dip the end of the feather shaft into a bottle of ink until it fills to the desired level.
The vane of the feather is soft and can be used like a paint brush. Dip the feather's edge in ink or paint and stroke the feather from left to right (if right-handed), or right to left (if left-handed). The feather can be cut at any angle or width you wish.
16. Scratched-Paper Surface*
As learned previously, the inner layer of the paper absorbs more ink than the surface. In this technique, scratching the surface of a glossy paper with any sharp tool and covering the paper with ink will produce effects like those in the illustration.
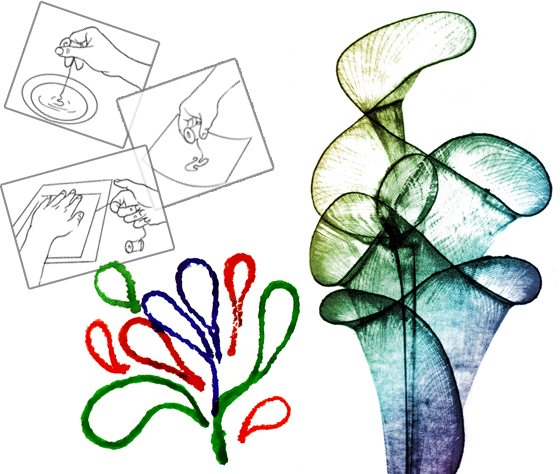
17. Stretched Yarn
Select different yarns of various thicknesses. Soak the yarn in ink, then lay it out in a design on a piece of cardboard or heavy paper, leaving the ends of the yarn hanging off the edge. Be careful to set the yarn down exactly where you want it the first time. Cover your design with another piece of cardboard or paper. Using one hand to press down on the cardboard or paper, pull the yarn out carefully, one strand at a time, with the other hand. Pull quickly to create the effect shown below.
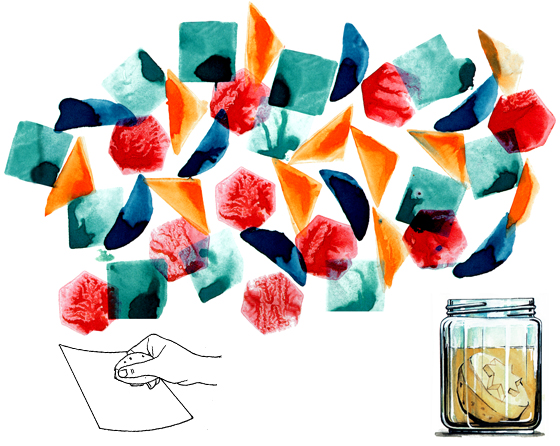
18. Potato Stamps*
Cut a potato in half and carve an image on the inside surface. Dip the carved image into ink and use it to print like a stamp. You can preserve the potato stamps for later use by storing them in a solution of vinegar and salt.
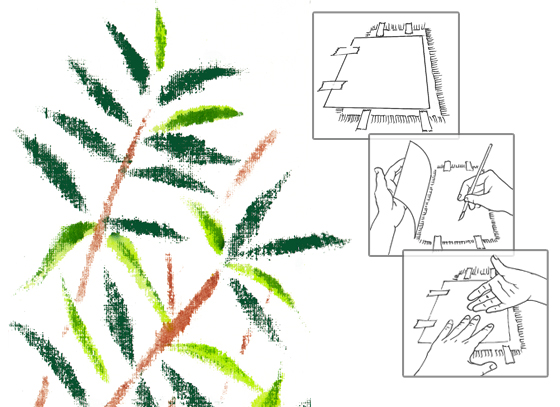
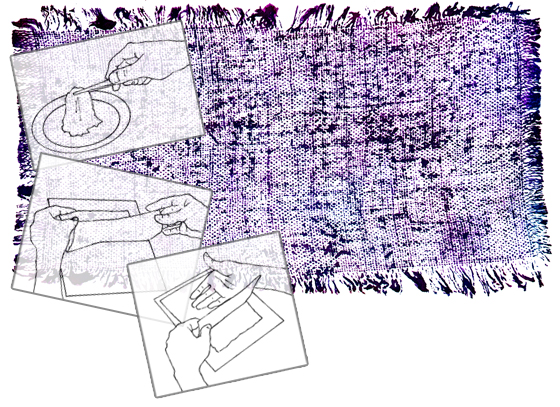
19. Textile Texture Printing 1
There are many different kinds of textiles: wool, cotton, silk, sackcloth, etc. Select a textile and dip it into ink. Lay it on a glass surface or some newspaper. Place a piece of art paper on top of the fabric and press down. The amount of ink, the type of fabric, and kind of paper you use will give you different results.
20. Textile Texture Printing 2
Lightly paint some fabric with slow-drying ink as shown in the illustration. Press a piece of paper on top of the fabric. Be sure the ink is evenly distributed so that the pattern in the textile prints clearly on the paper.